While a shape is still selected (showing the marching ants border), you can resize it, rotate it, and change its fill color, border color, border thickness, and opacity using the Tool Settings Panel.
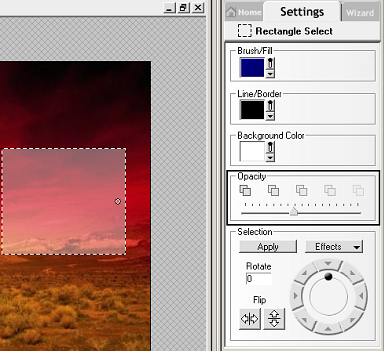
To make a shape more opaque, move the Opacity slider to the left. To make it more translucent, move the slider to the right.
Adjusting the Opacity of a selected shape
You can also add shadows and smoothing to a selected shape by choosing commands under the Effects button.
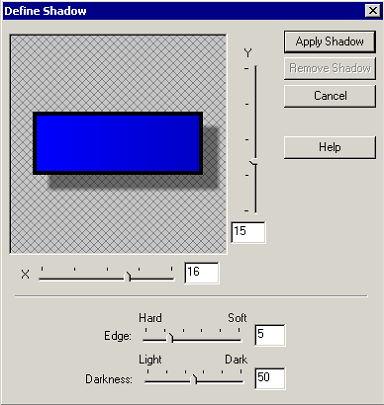
Applying a shadow
If you want the fill color of your shape to be invisible (transparent), check the Don’t Fill box beside the Fill control on the Tool Settings Panel.
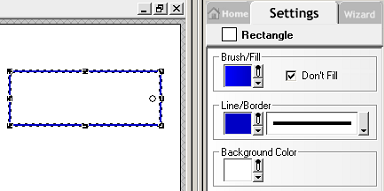
A rectangle with no fill color
As long as the shape remains selected, you can modify it without affecting the rest of your image. You can make changes to your shape without deselecting it by using the options under the Image menu or by choosing one of the options under the Effects button on the Tool Settings Panel.
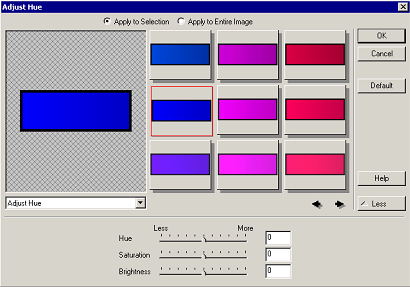
Adjust the hue of a shape via the Image menu
When you are satisfied with your shape, click once in the background of the image to deselect it.